Create free and fast websites with Publii and Netlify (PART 1)

Full tutorial on how to create a FREE website in less than an hour. The only requirements are a computer, an internet connection, and a bit of spare time.
Process overview and requisites
Here are the neede the platforms / tech I recommend for free and fast deployment of online projects (of course, these are the tools that I personally use for all my websites):
Need:
- Computer
- Willingness to learn
- Willingness to fail
- An hour of spare time
Platforms:
- Publii (free CMS)
- Netlify (free hosting)
THE FREE CMS: PUBLII
Head straight to Publii CMS website and download the latest version of this phenomenal and FREE content management system.
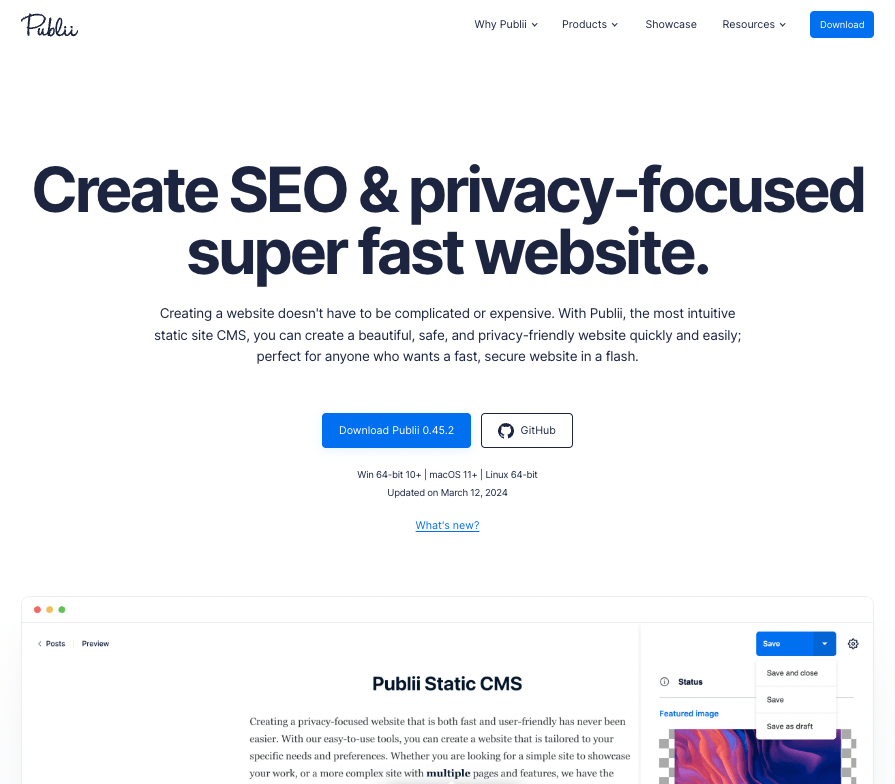
Install and run Publii. It is a desktop-based CMS that runs locally on your computer, and allows for fast website creation using pre-built templates and themes. No coding knowledge needed.
ADDING A NEW WEBSITE IN PUBLII
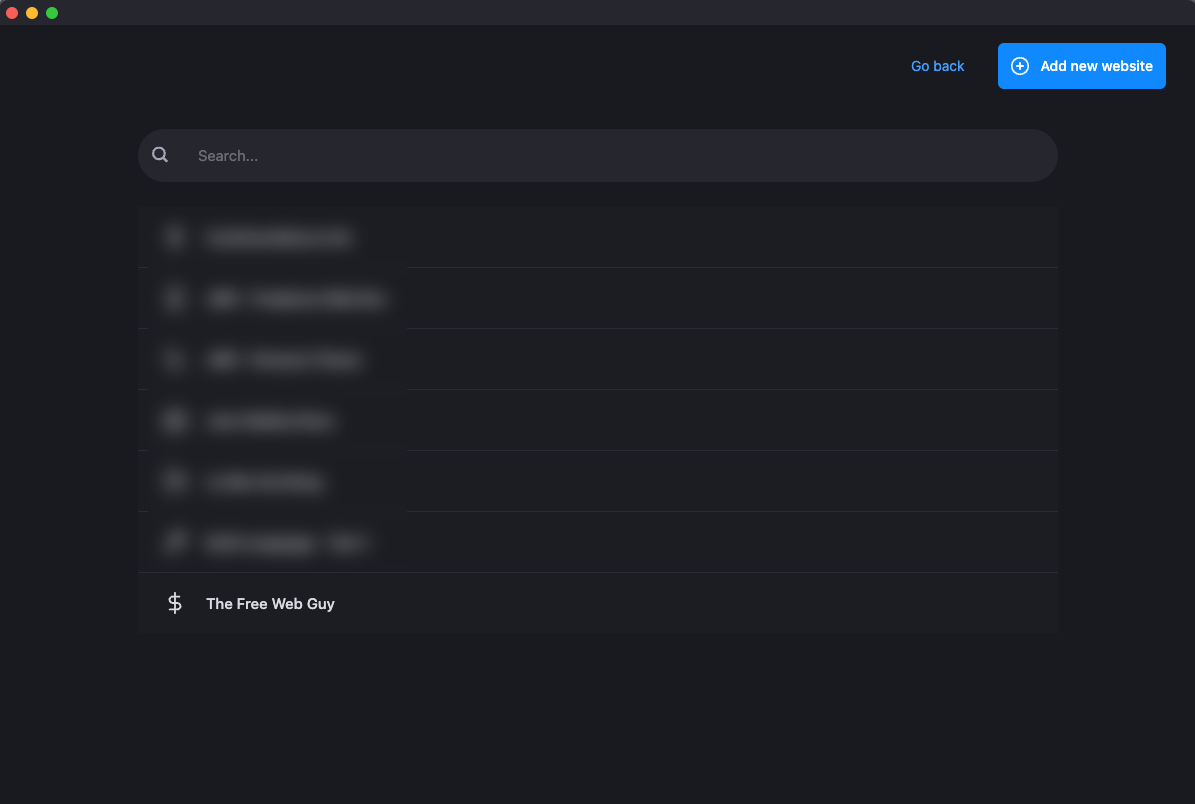
In Publii, create a new website by clicking on ADD NEW WEBSITE and giving it a name. This free website sits inside the computer for now, ready to be uploaded to Netlify, my favorite free hosting provider.
PREVIEW THE WEBSITE IN BROWSER
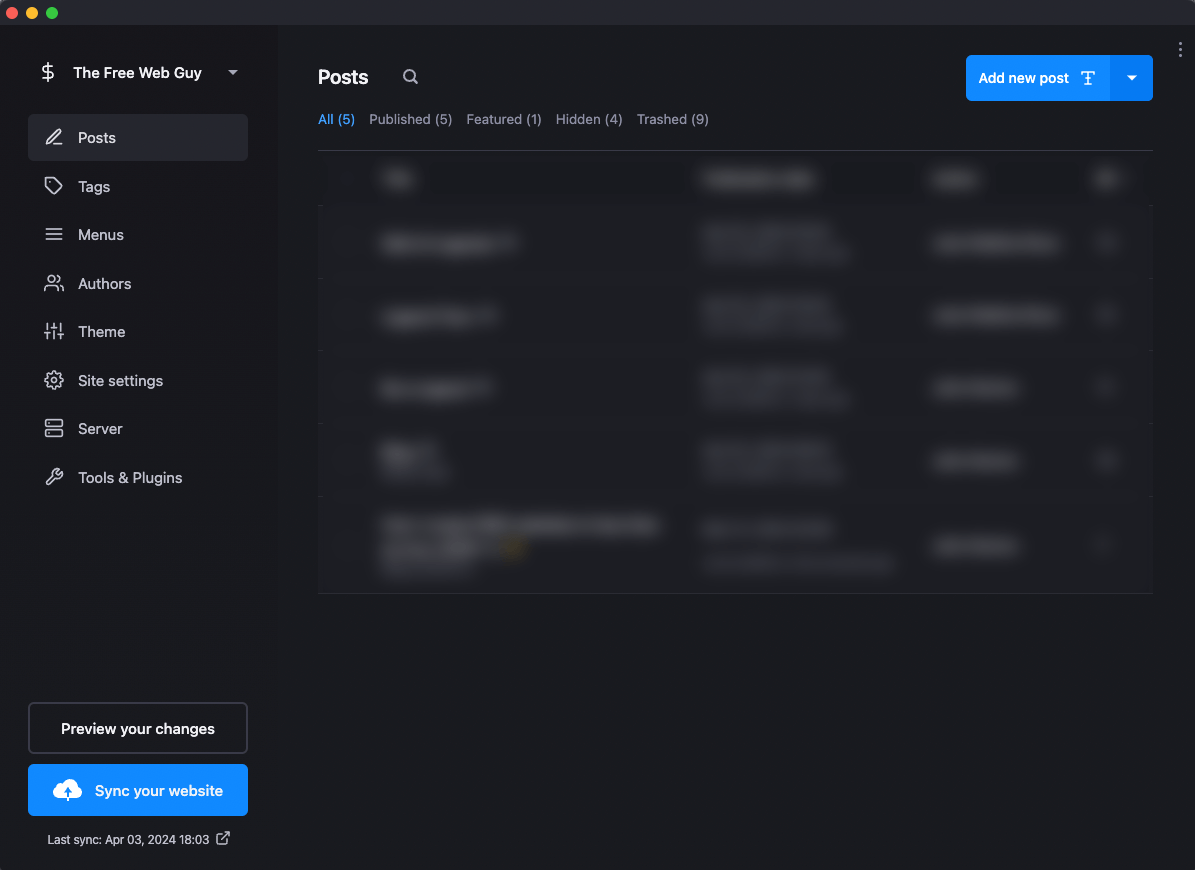
After creating the website, click on PREVIEW YOUR CHANGES, and Publii will generate the website, previewing it in browser. Right now, the website is pretty much a blank starter theme that needs a little configuration and tweaking.
CHANGE PUBLII'S WEBSITE THEME
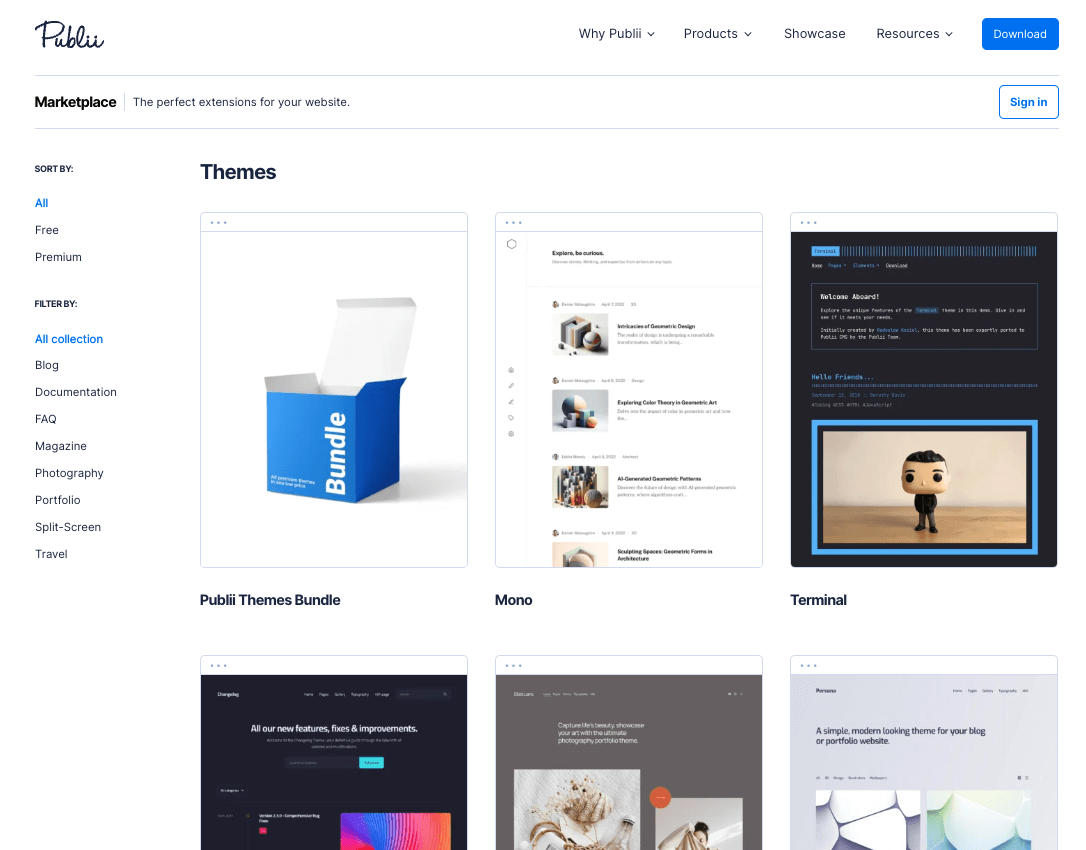
The very first step is to go to Publii Marketplace to download one of the free themes provided by Publii's team.
Download one of Publii's free themes and install it.
To install the downloaded theme, click on the 3 dots at the upper right corner. Select Themes from the dropdown menu.
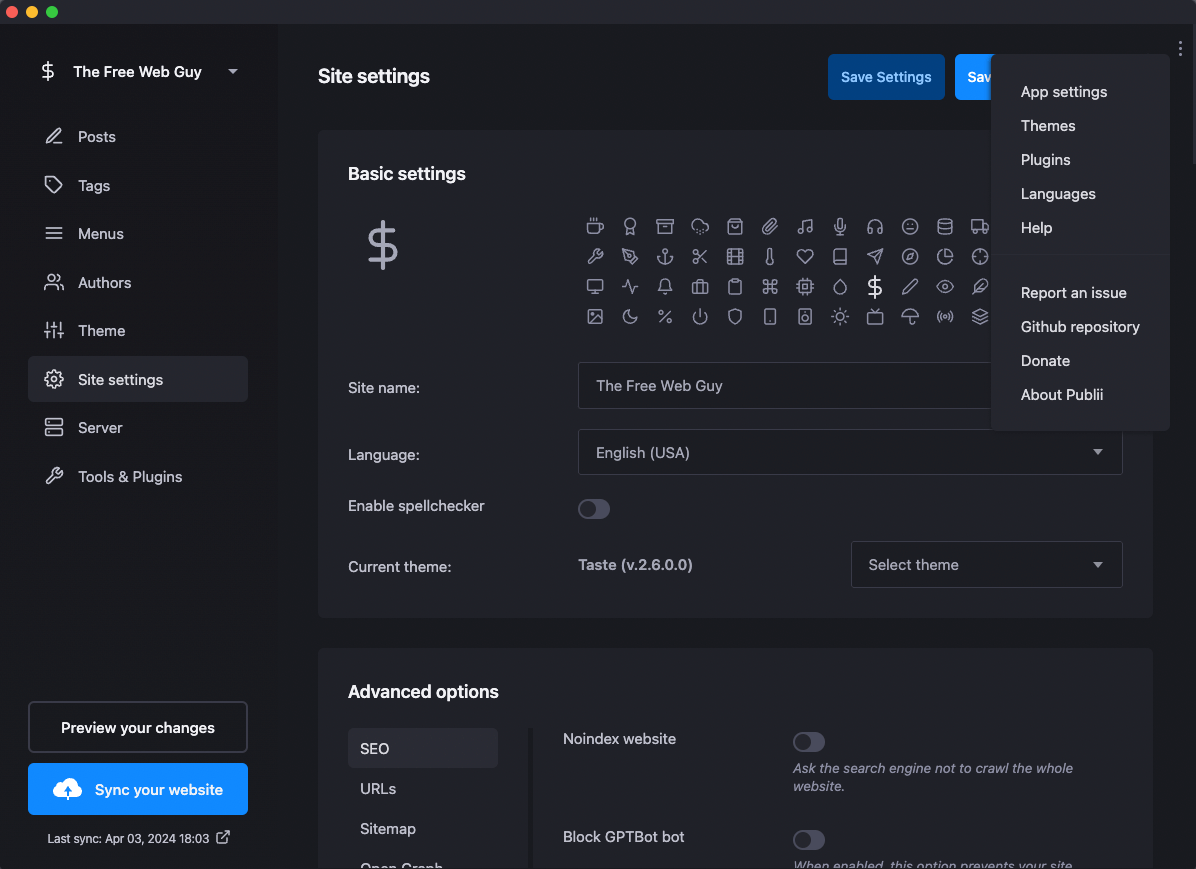
The theme management screen will appear. Select Install Theme, and click on the file you just downloaded from Publii's marketplace.
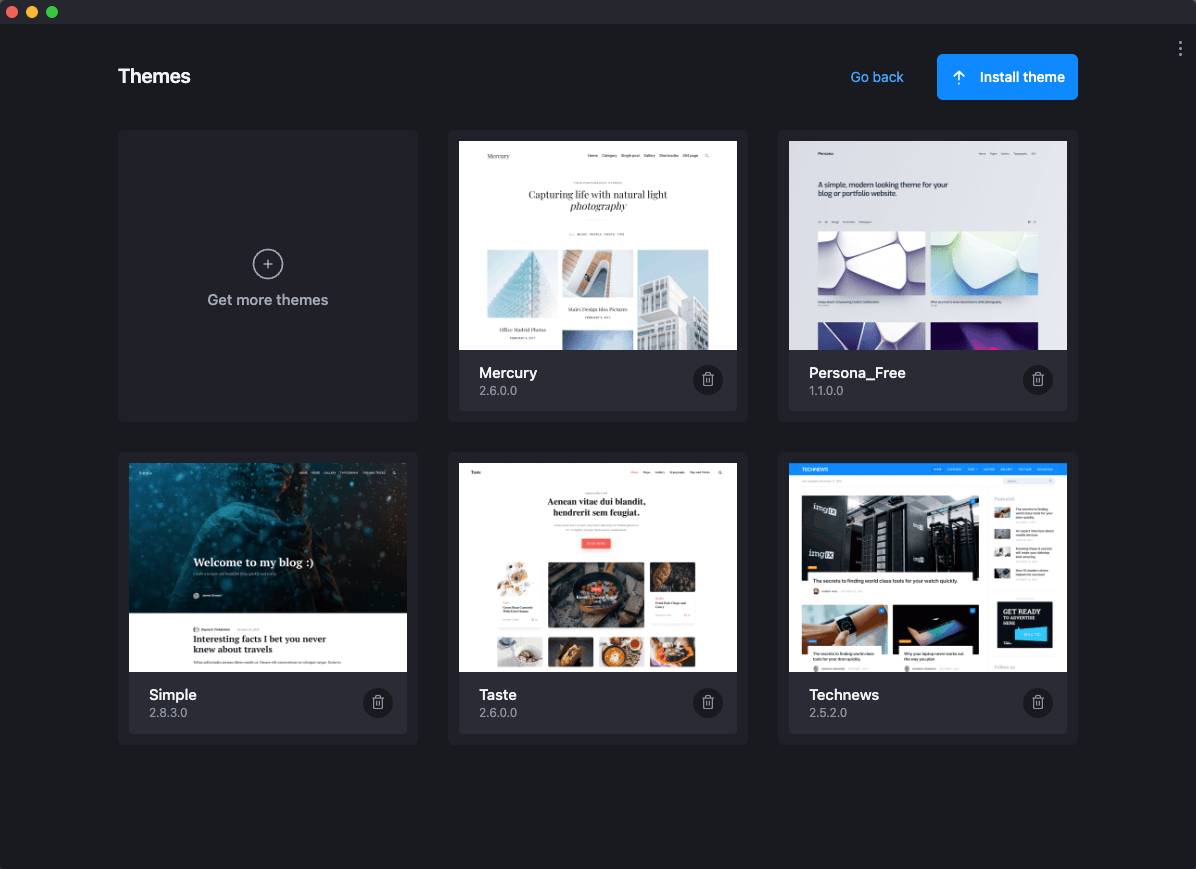
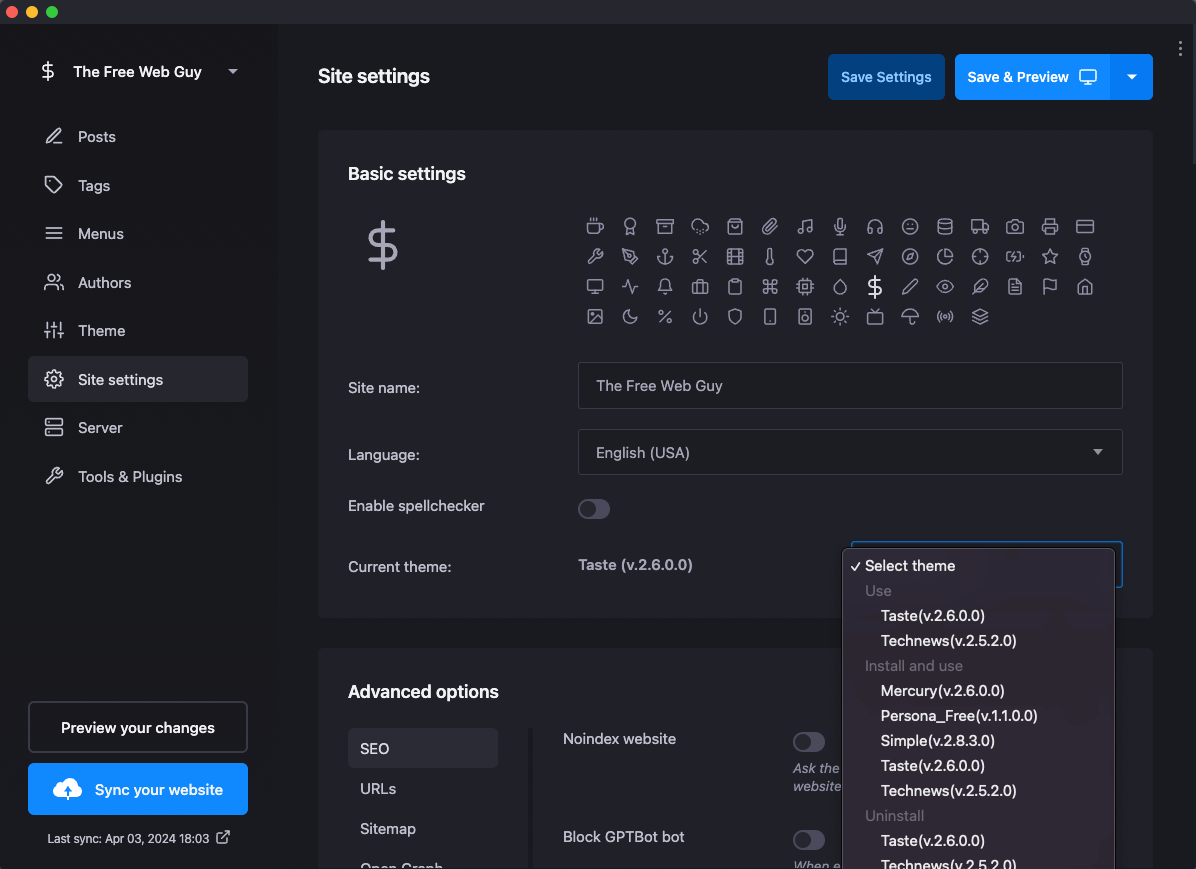
After installing your new theme, click on Go Back to return to the main Publii screen. Then click on Site Settings and choose the theme from the dropdown to activate it. You will have to click on Install and Use.
Click on PREVIEW YOUR CHANGES again to see the result in browser.
CREATE A FEW POSTS
Since the website is fresh and blank, it will display no content. It is now time to create some fake blog posts to see how the website will look like when the real content is created.
For FREE images head to Unsplash.com and download about 5-10 images.
For placeholder text, go to Loremipsum.io and generate some paragraphs of fake text.
Inside Publii, click on POSTS, and then ADD NEW POST.
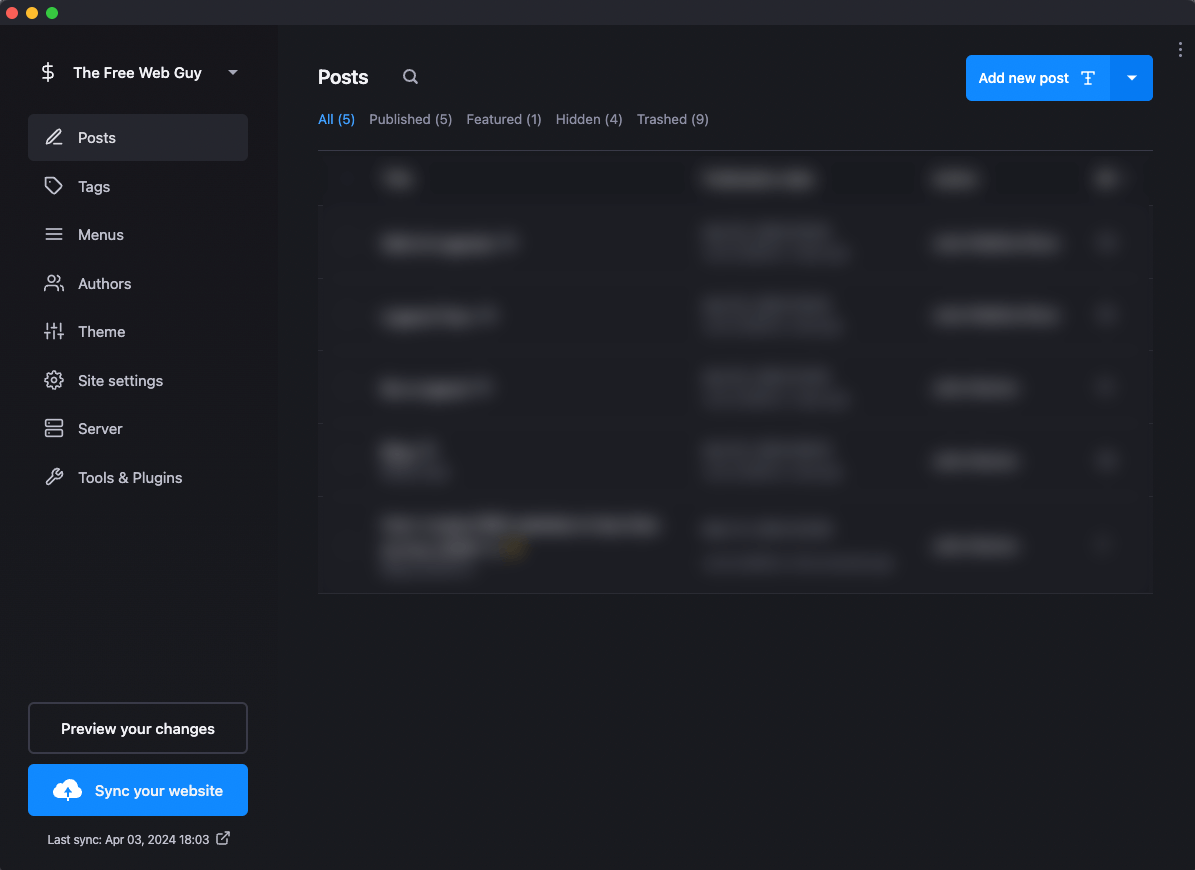
Use the WYSIWYG editor for super easy post creation. Create the post's title, and add some placeholder lorem ipsum text for now. The click on Save and Close. Preview the site again from the Preview Your Changes button.
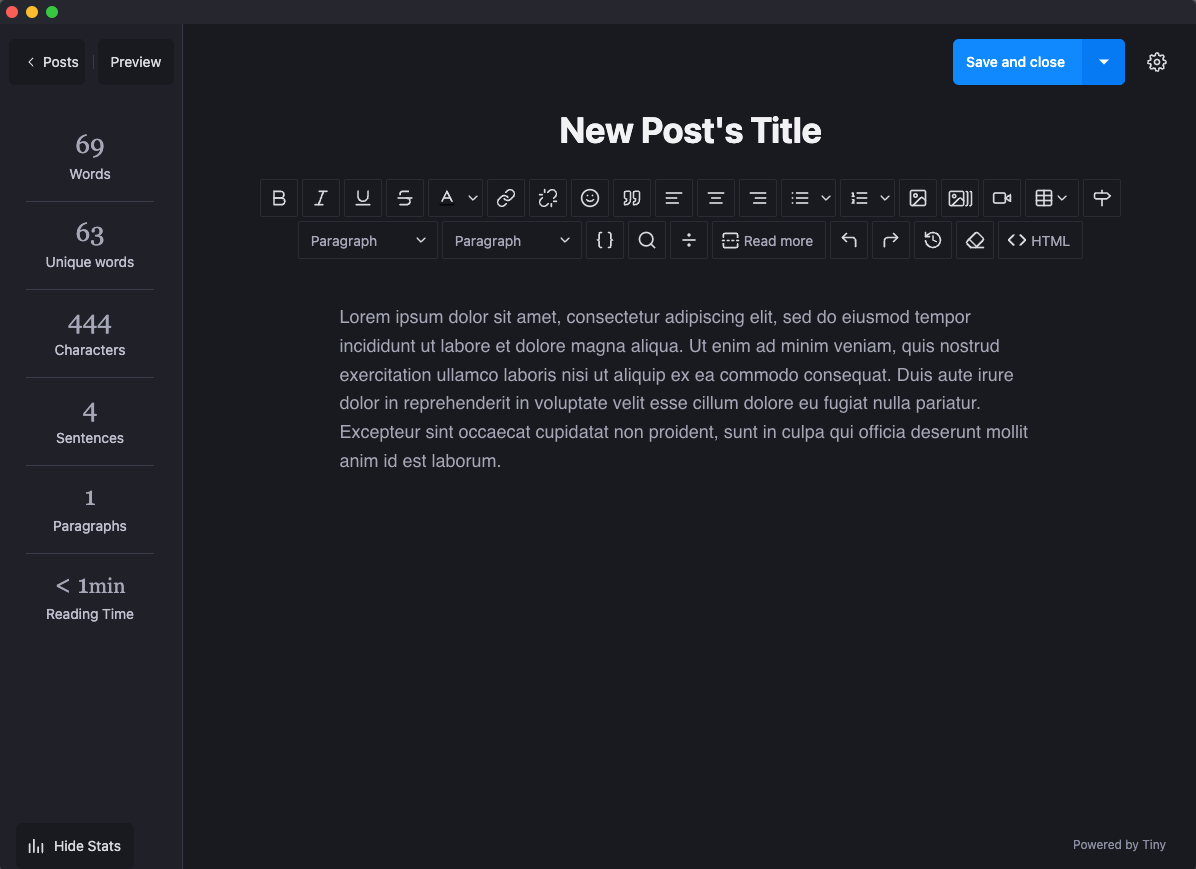
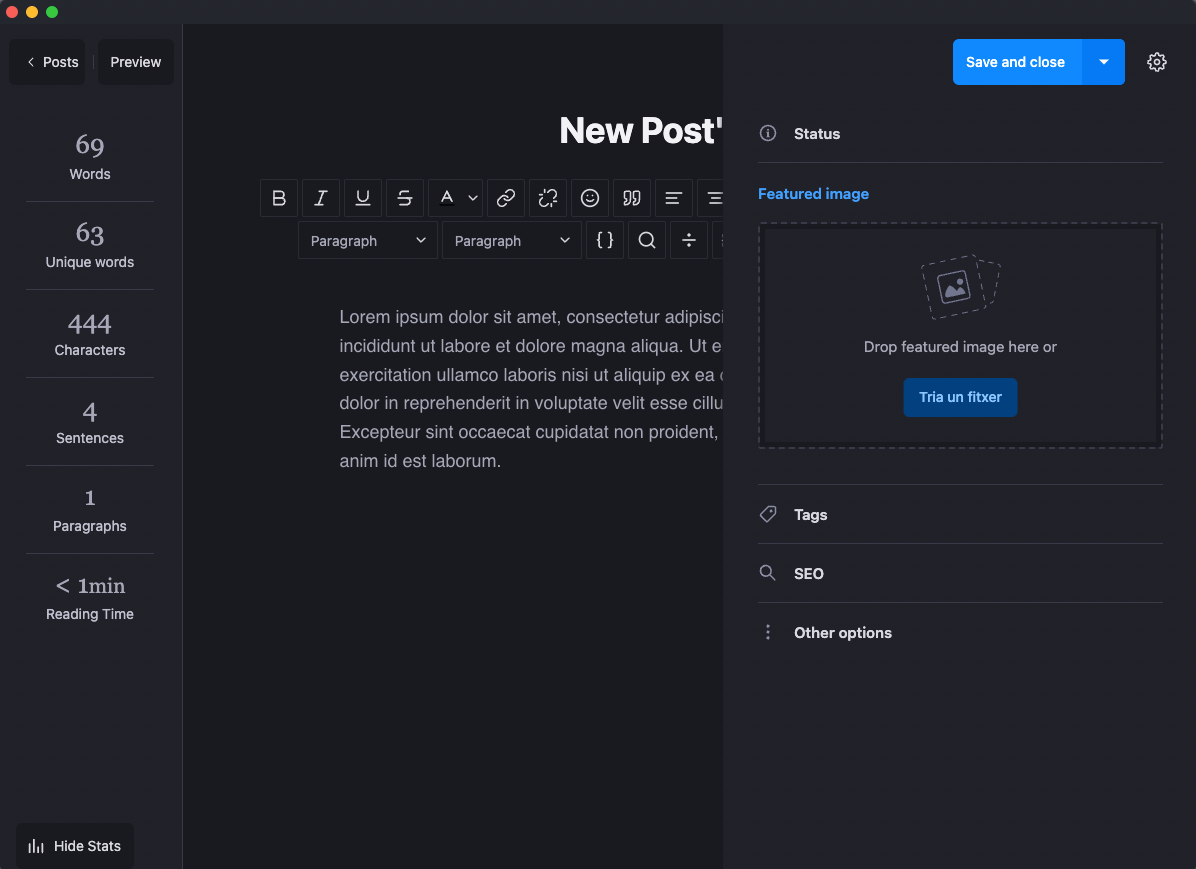
Back inside the post, use the images downloaded from Unsplash as featured images. For each post, click on the little cog at the upper-right corner to display featured images options and add an image to the post.
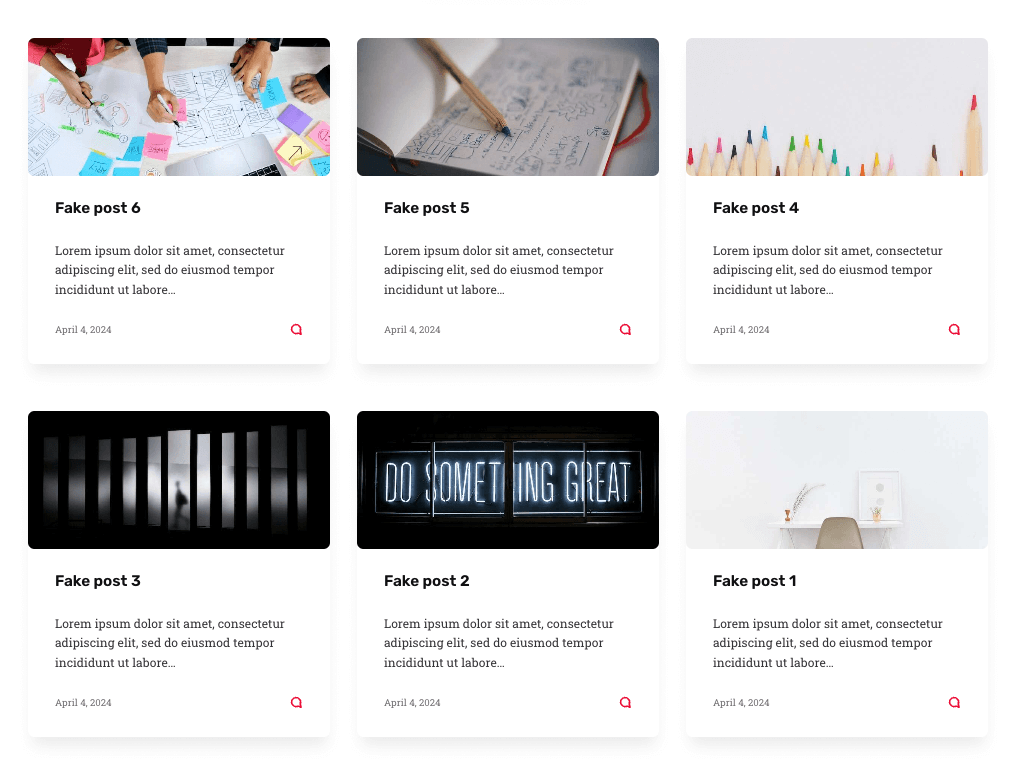
Create some 5-10 posts like this one, with fake titles, and a couple Lorem Ipsum paragraphs. Preview the site again, and the posts will now show up.
TEST DIFFERENT PUBLII THEMES
Now the base website is setup. It is time to go back to Publii's Theme Marketplace, download some other themes, install them and see which one gets picked for the best feel and look.
Bear in mind this initial theme selection is not definitive, as the user can change the theme as needed in the future.
PUBLII WEBSITE CUSTOMIZATION
Next, let's customize a bit further. There are some fantastic prebuilt options in Publii to achieve a modern look and lots of functionality. Some awesome characteristics are:
- Comments
- Tags
- Social Sharing
- Social Profiles
- Author's Bio
All of the above options can be easily activated from the CMS desktop app.
ACTIVATE COMMENTS
Comments can be activated for Posts and Cards (the blog post previews in the home page and archives).
To activate comments for Posts, go to Theme, Post options.
(SCREENSHOT 6)
To activate comments for Cards, go to Theme, Cards.
(SCREENSHOT 7)
CREATE TAGS
In the left menu, go to Tags. Create some tags, which then can be selected and used for each post.
(SCREENSHOT 8)
(SCREENSHOT 9)
ACTIVATE SOCIAL SHARING
Go to the Main Menu, click on Share. Activate Post sharing on social networks as needed.
(SCREENSHOT 10)
ACTIVATE SOCIAL PROFILES
Go to Footer in the Main Menu. Toggle the networks as needed, and simply type the profile URL for each network.
(SCREENSHOT 11)
CREATE AUTHOR'S BIO
Finally, go to Authors in the left menu, click on the author's name and write a bio. It is also possible to create new authors as needed from this menu tab.
(SCREENSHOT 12)

Comments